Android on a Raspberry Pi 4 – Part 1 – Building the images and setting up the sdcard
Posted by Kristian Golding on January 11, 2021
As I’m fresh-out of Android development boards, I decided to try and repurpose a Raspberry Pi 4 for Android experimentation in preparation for when the next version of this book comes out: http://newandroidbook.com/. I had originally tried this with my Raspberry Pi 3A+, but only found real support for the 3B.
First, you need a version of Android that is customized for the Pi 4 . I used this repo and followed the guide: https://github.com/android-rpi/device_arpi_rpi4
Note: when formatting the SDcard, this is how I did it. First, I listed all disks to find where my SDcard existed, which was /dev/sdd:
sudo fdisk -l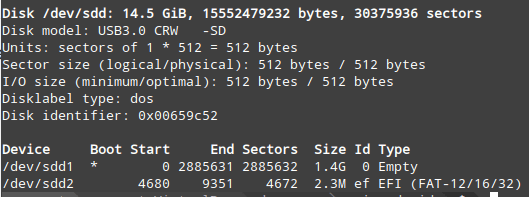
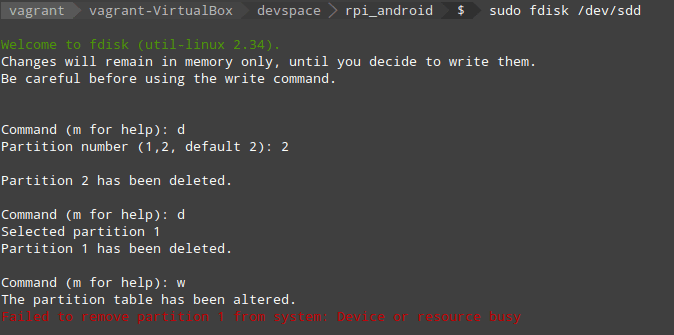
My disk was not empty, so I removed the existing partitions, using fdisk.
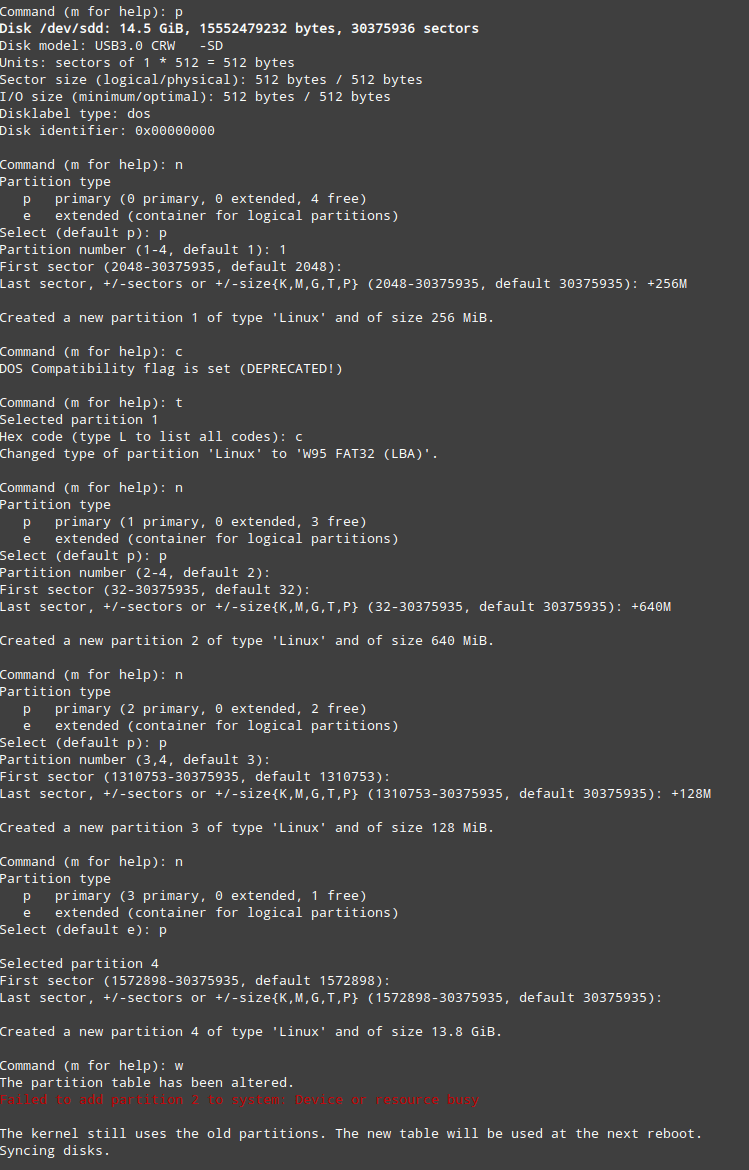
Now to create the partitions as specified by the guide, i.e:
# Prepare sd card Partitions of the card should be set-up like followings. p1 256MB for BOOT : Do fdisk : W95 FAT32(LBA) & Bootable, mkfs.vfat
p2 640MB for /system : Do fdisk, new primary partition
p3 128MB for /vendor : Do fdisk, new primary partition
p4 remaining space for /data : Do fdisk, mkfs.ext4
Set volume label for /data partition as userdata : use -L option of mkfs.ext4, e2label command, or -n option of mkfs.vfat
The fdisk command is again used to create the partitions:
(Forgot to show making the /dev/sdd1 partition a boot partition)

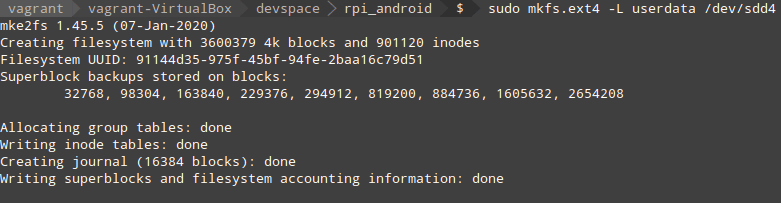
To set up the file systems correctly, I ejected/inserted the SDcard, and ran the following mkfs commands. The first makes /dev/sdd1 a vfat boot partition, and the second makes /dev/sdd4 an ext4 partition with label ‘userdata’.

I then formatted the DOS partition:

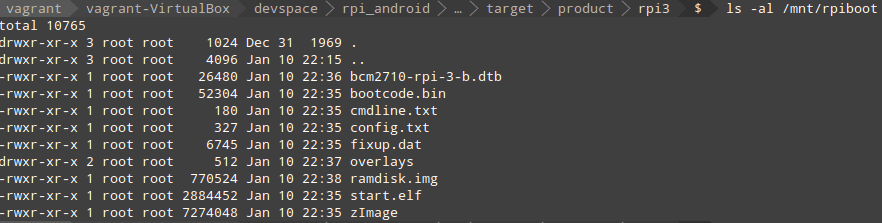
After formatting, I copied the system and vendor images across to their respective locations as shown in the guide. To copy files to the DOS partition, it had to be mounted (I made a directory /mnt/rpiboot):

And then I followed all the commands for copying to the boot partition, the result of which looks like:
Views from Marco Island
Posted by Kristian Golding on November 29, 2020

Compressing video with ffmpeg
Posted by Kristian Golding on November 29, 2020
I was looking into what was taking up space in my Dropbox account and found some older videos, each a few gigabytes in size, where I didn’t really care if there was a small loss of quality to make them much smaller. I found some options with ffmpeg that worked pretty well
ffmpeg -i input_file -vcodec libx265 -crf 34 output_fileThis will re-encode the file using x265. The “-crf” option specifies the amount of compression, with a range from 0-51: “0” being lossless and “23” the default. With the default I was able to halve the storage space required with negligible video loss. I upped it to “34”, as above, and while there was a bit of loss in video clarity, it didn’t matter for the video content. The result? A file originally ~ 2.4 GB in size was reduced to ~ 300 MB.
I had a folder of such videos, so used this Bash one-liner to process each file and output a new processed file.
for file in ./*.mp4; do ffmpeg -i ${file} -vcodec libx265 -crf 34 ${file%.*}_processed.mp4; done${file%.*}_processed.mp4 means from the original file, keep the filename (removing the extension) and replaced it with “_processed.mp4”.
Main board, front panel, transistor matching – MFOS Soundlab mini synth mk II
Posted by Kristian Golding on September 19, 2020
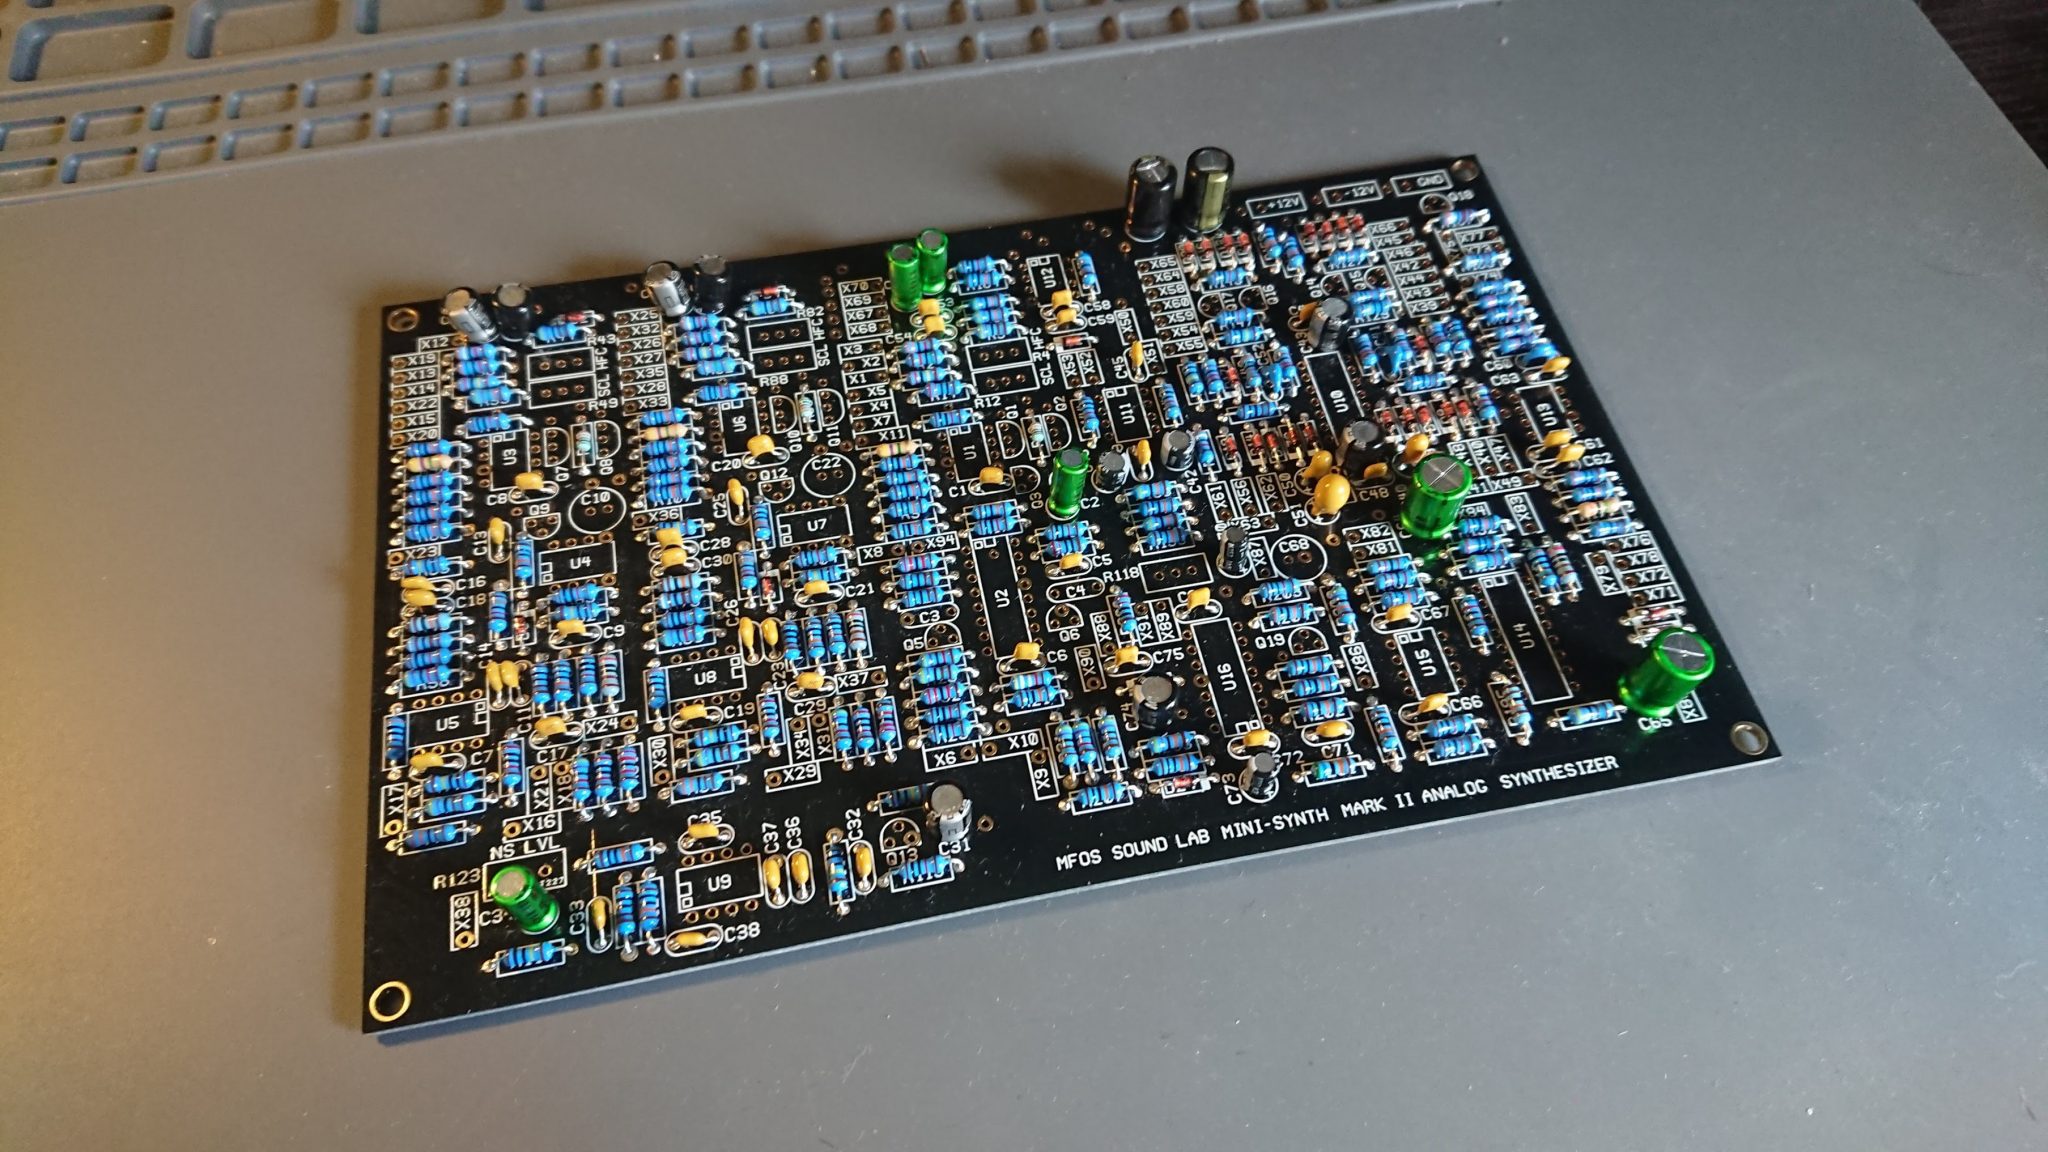
The main board is coming along, this is before I placed the remaining capacitors and IC sockets.
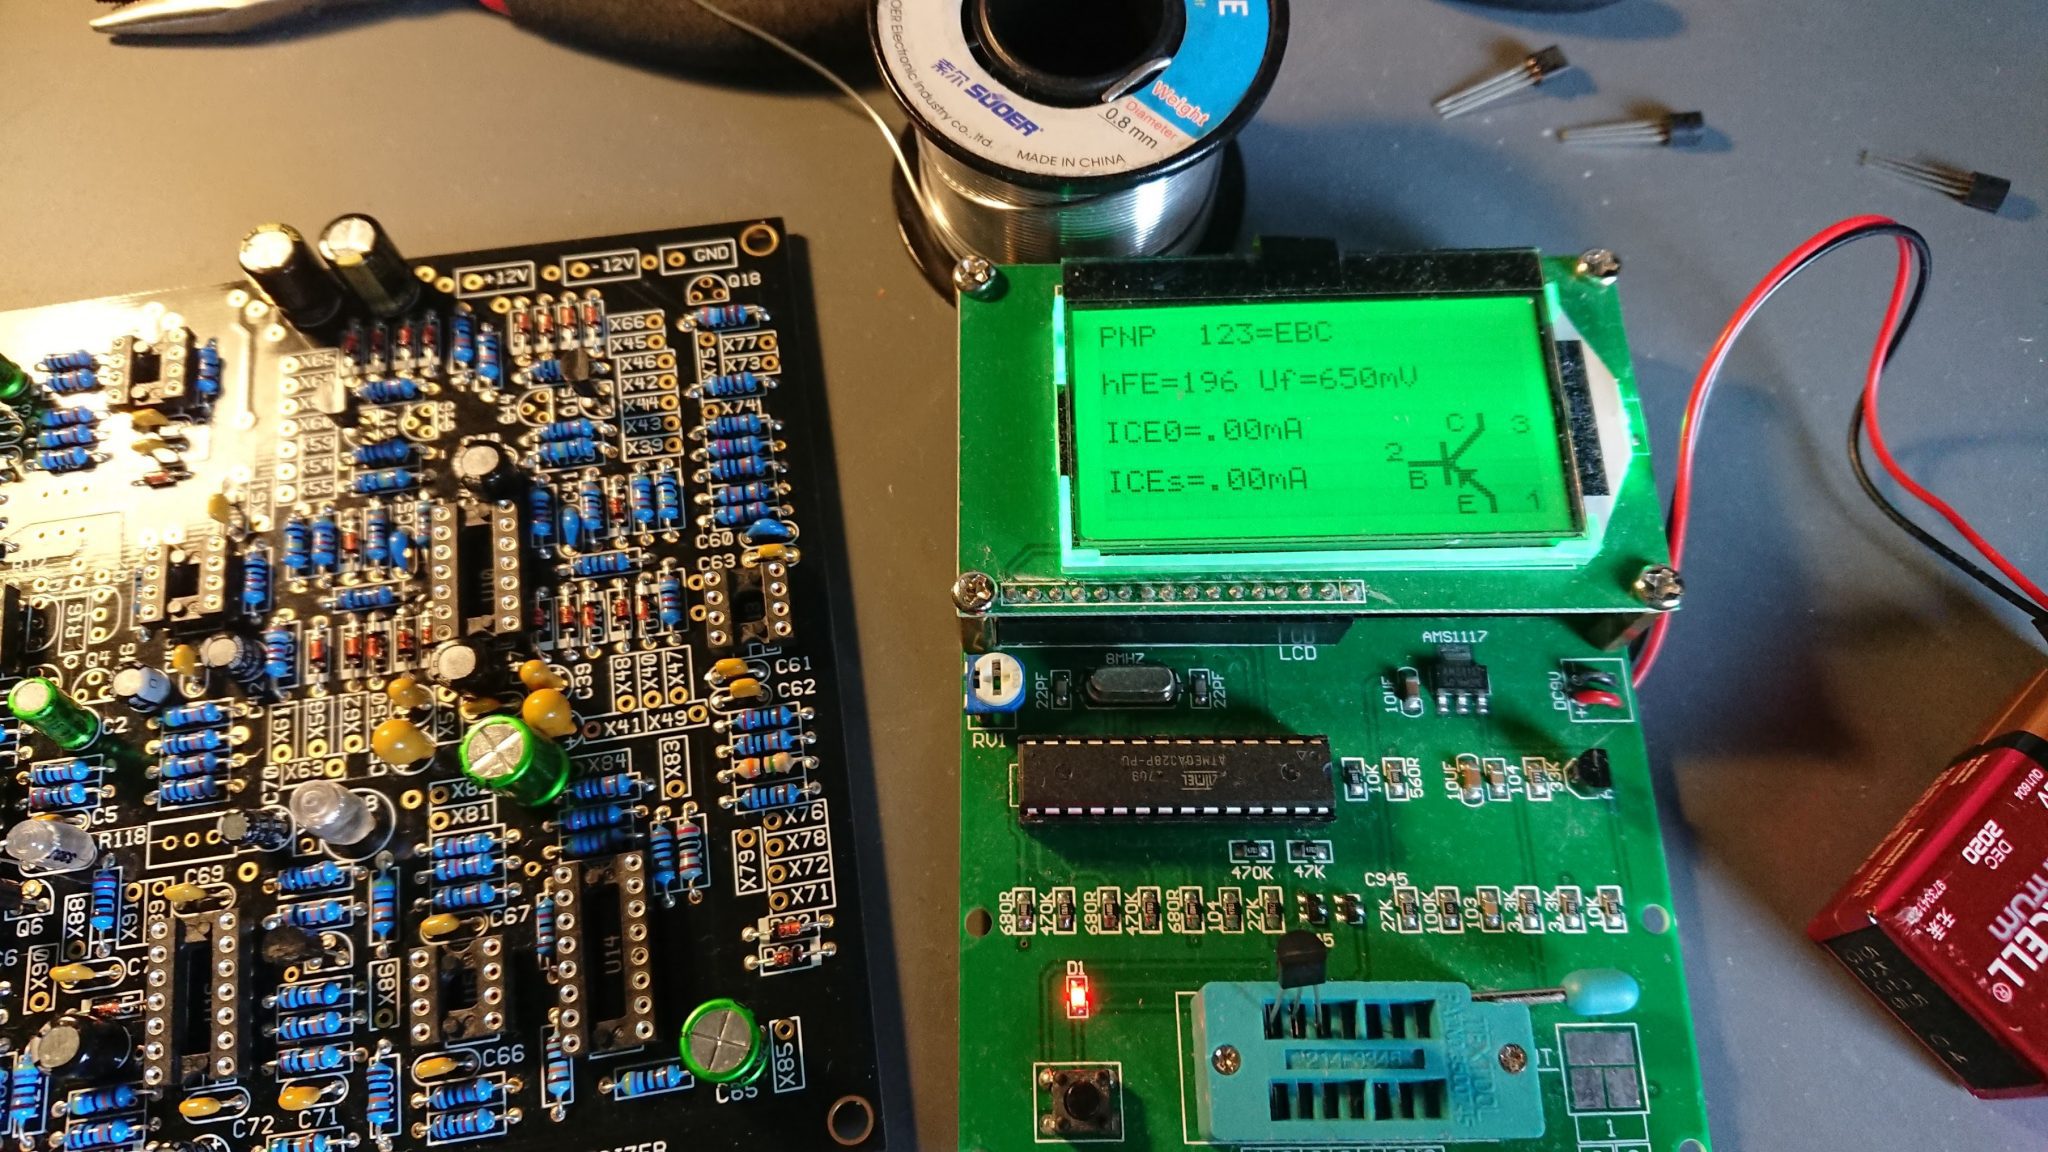
Here I’m matching transistors with an ATmega328-based component tester.
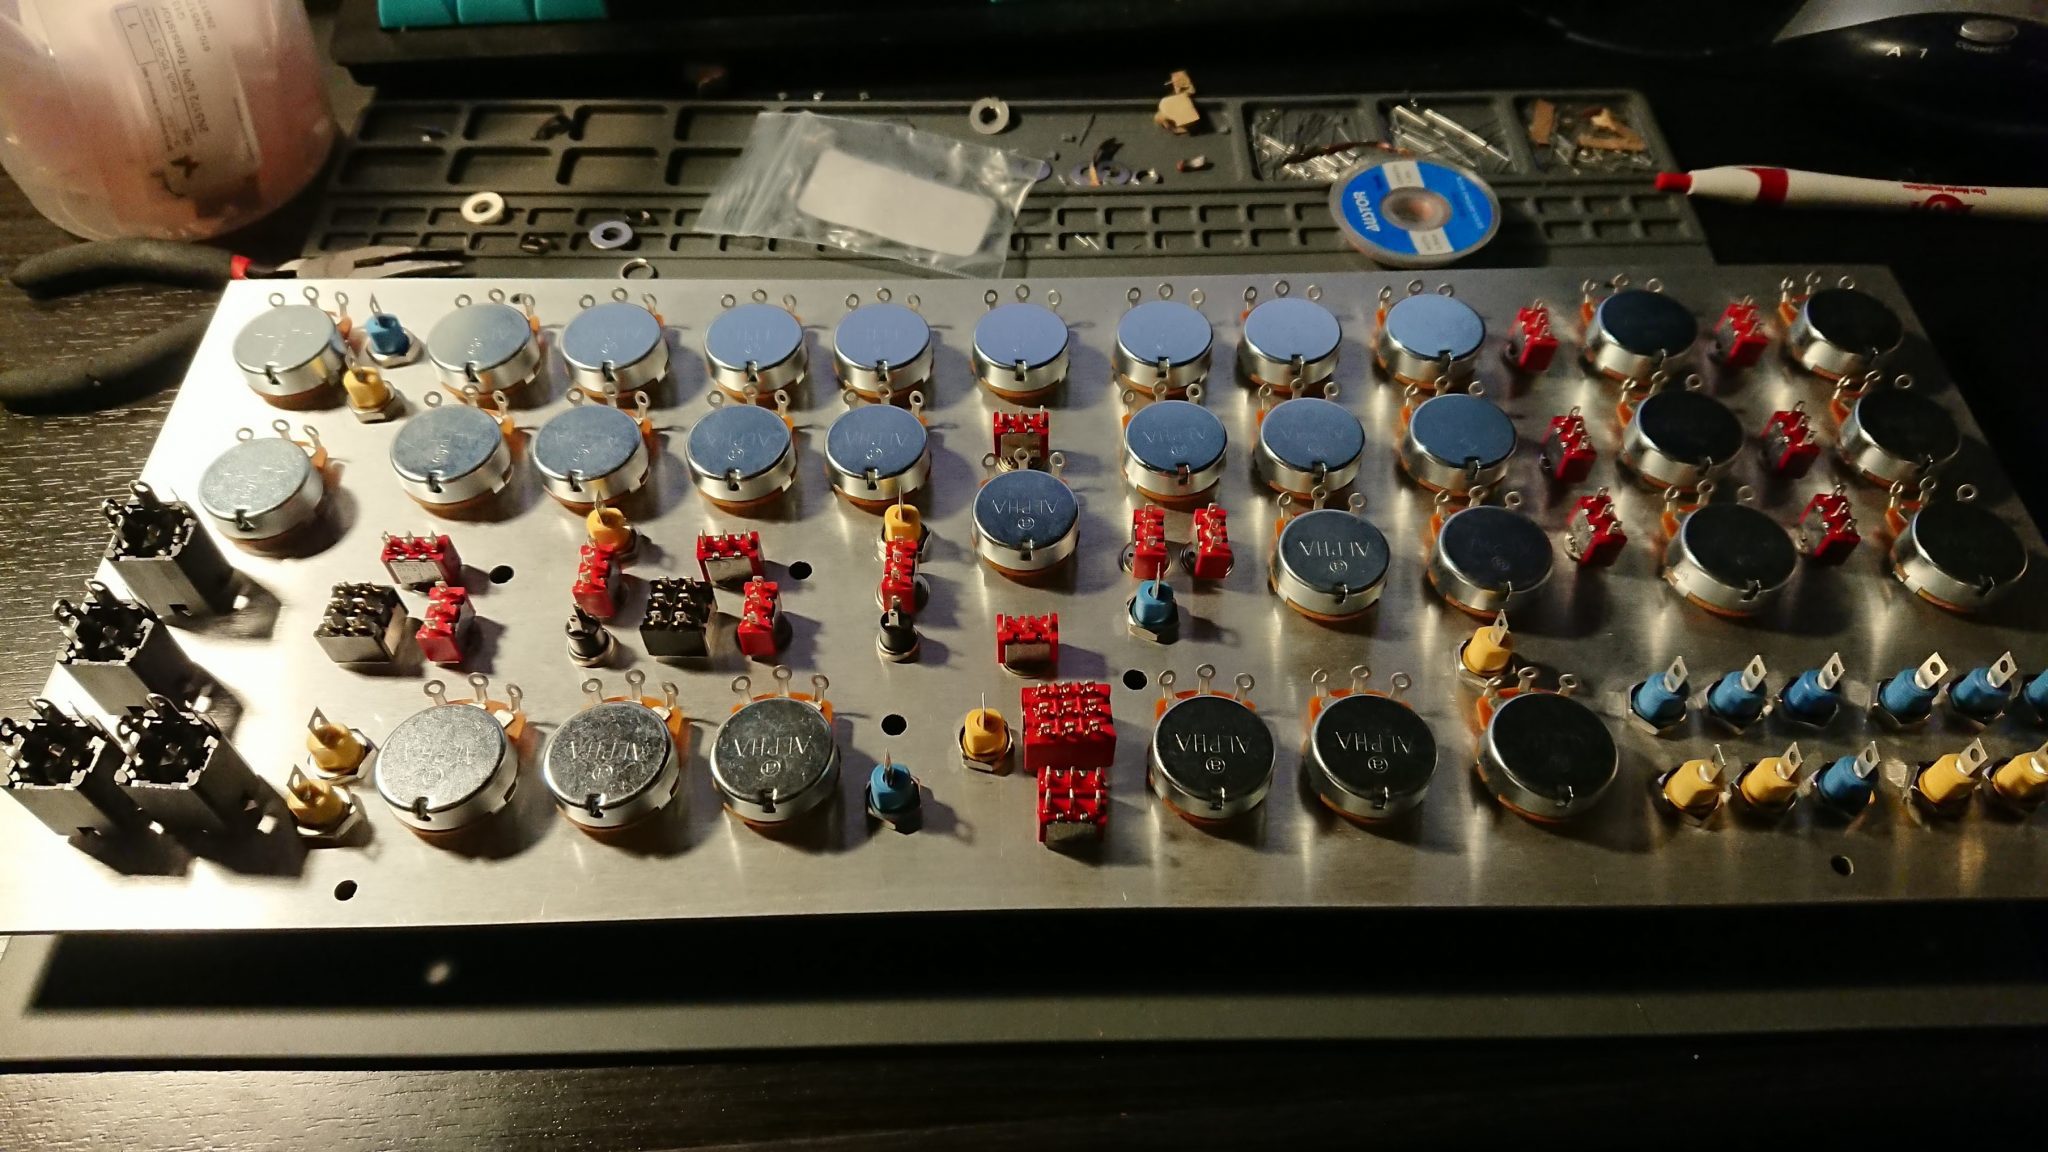
And then the placing the potentiometers, sockets, and switches on the front panel